
INSTALLATION AND SETUP
For a video guide click here.
It is recommended for installations in Singapore to be carried out by our technical team. However, it is possible to carry out the installation using our guidelines.
PRECAUTIONS
Do not exceed 5 bikes per circuit; to reduce risk of burns or shocks always use grounded power chords.
Minimum spacing shall be maintained for movement around and use of the equipment. A minimum of 0.5m (20 in.) on at least one side and minimum of 1.0m (39 in.) to the rear of unit.
The exercise bike must be installed on solid level surface.
Do not install the bike outdoors, near swimming pools or in areas of high humidity.
It is highly recommended to install a Surge Suppression device when installing a bike in order to protect the bike’s computer from AC power events that may cause damage to the electronics of the bike. An AC Surge Suppressor wall adapter is a good option.
The warranty is void if the product is used without surge protection.
Please choose a surge protection unit that satisfies the following requirements:
AC Suppression joule rating Minimum 400 joules (Higher is better.)
Let-through voltage Maximum 330 volt (Lower is better.)
INSTALLATION REQUIREMENTS
Two people and the following equipment is required to unpack and assemble the CyberCycle:
Scissors
Diagonal Cutting Pliers
14mm socket wrench
PACKAGE CONTENTS
The CyberCycle
AC power cord
Installation and Setup Guide (this guide)
User Guide
Hardware Kit

UNPACKING THE BIKE
1. Remove the Hardware kit from the bottom of the container.
2. Remove the plastic bag from the front of the bike.

ASSEMBLING THE BIKE
INSTALLING THE MONITOR SUPPORT
1. Raise the monitor mast into place being very careful not to pinch any wires.


2. Install the two flat head bolts (M8 x 1.25 16mm) into the top two holes.
3. Install the two button head bolts (M8 x 1.25 10mm) into the mast.


INSTALLING SEAT BACK
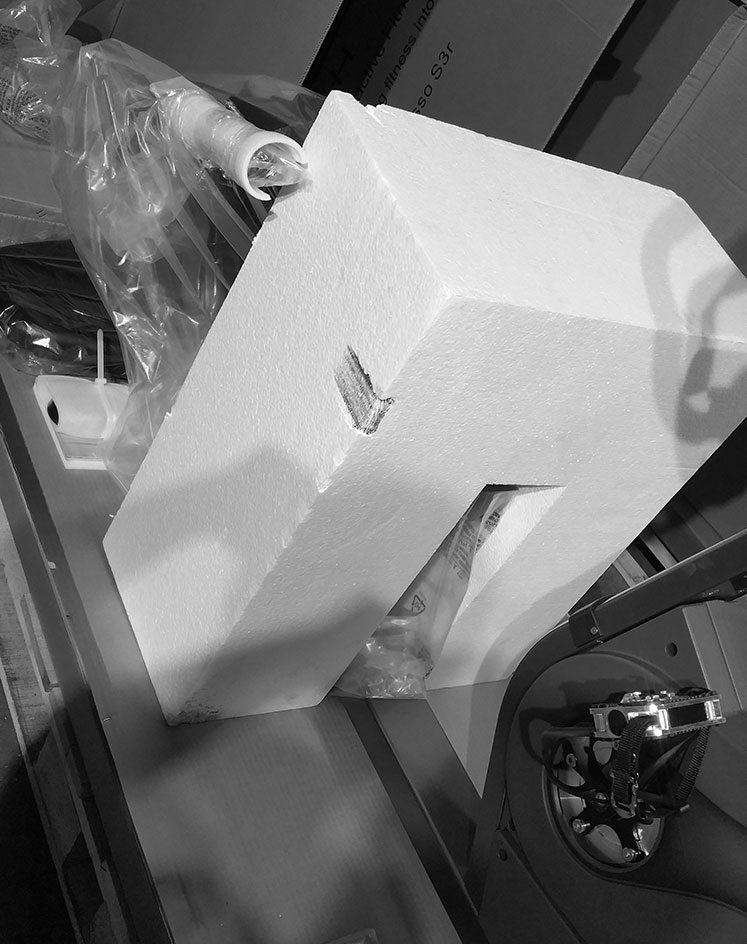
1. Remove the plastic film and foam block.
2. Remove the plastic film from the seat carriage area.

3. Slide seat back rails into place.

4. Fasten the seat back using four button head bolts (M8 x 1.25 40mm) and four washers by installing the back bolts first.

5. Install the front seat back bolts (M8 x 1.25 40mm) with washer.

6. Slide the seat carriage back and lift and cut the blue film off slider.

7. Slide the seat carriage forward and remove the remainder blue film.

POSITIONING THE BIKE
1. Using Diagonal cutters remove the bands from the support feet.

2. Using two people, remove the bike from the pallet by taking the front end off pallet first.

CAUTION! HEAVY! Using proper lifting technique, use two or more people to lift bike into position.
ASSEMBLED BIKE
Your bike is now assembled and ready for setup!

POWER ON THE BIKE
Locate the Control Panel in the front of your CyberCycle near the base of the frame.
Connect the AC power cable to the bike through a surge protector.
Turn on the bike using the power switch on the control panel of the bike.

SETUP WIZARD
The owner of the bike must complete the Setup Wizard prior to operation. When you first turn on your bike the Setup Wizard will guide you through the following:
Basic Settings
The basic settings include the Language, Time Zone, and Units (Metric or Imperial).
Internet Settings
The CyberCycle can connect to the internet via Ethernet or WiFi. For advanced configurations please contact Customer Service.
Bike Registration
Bike registration includes the name and contact information for the owner of the bike as well as where the bike is located. The location of the bike determines which team it is associated with. The bike registration must be reset upon a change of ownership.
eLive Plus
An eLive Plus subscription is required for all workouts other than Pedal.
ADVANCED CONFIGURATION
After completing the Setup Wizard, your Bike Settings can be accessed from the main menu. To view or update your settings you will need to enter the following access code: 7913.
The following advanced settings can be adjusted through the Bike Configuration card in the Bike Settings:
Calibrate Steering
Follow the directions on screen to calibrate the steering with the handlebars.
Idle Timeout
By default the CyberCycle will timeout after 60 seconds with no activity.
Player ID
The default Player ID is 1. This is what will appear on screen for the rider of this bike during group rides. It is recommended that you assign a unique ID to each bike in multi-bike installations.
Network Riders
This is enabled by default. You can disable this to turn off group rides.
Upload Log Files
The bike will periodically upload log files to the CyberCycle server. You can also force the bike to upload logs through the menu.
Factory Reset
This option will reset the bike back to the factory settings. This is not recommended unless instructed by Customer Service.