PERFORMANCE LINE
ST3110/STE3110-Hi5 Biceps/Triceps
Equipment adjustment manually (ST): Grasp the front sections of the side edges of the seat with both hands and lift the seat to the desired height. To lower the seat, grab the rear side edges of the seat, tilt the front up slightly and lower the seat so that your chest rests against the cushion. The seat locks automatically into place.
Equipment adjustment electrically (STE): Push the seat adjustment button on the touch screen and adjust the seat by pushing arrow buttons. When training with RFID-tag, the machine will remember your settings from your current training program’s previous visit.
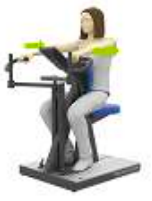
Biceps exercise: Place your arms under the rollers. Rest your chest and elbows on the support cushions, at the lever arm pivot ends. Exercise by alternately flexing your arms, lifting the lever arms upward. Return to the starting position slowly
Triceps exercise: Place your arms on the rollers. Rest your chest and elbows on the support cushions. Exercise by alternately extending your arms, lowering the lever arms downward. Return to the starting position slowly.
ST3320/STE3320-Hi5 Back Extension
Equipment adjustment (ST): Set the height of the seat by lifting it from the back with both hands so that the lever arm cushion is at shoulder blade height and your feet are resting relaxed on the floor. The seat locks into place automatically.
Equipment adjustment electrically (STE): Push the seat adjustment button on the touch screen and adjust the seat by pushing arrow buttons. When training with RFID-tag, the machine will remember your settings from your current training program’s previous visit.
Back extension exercise: Sit so that the lever arm is up against your shoulder blades. Exercise by pushing the lever arm down by using your lower back muscles, with your hands crossed on your chest. Return to the starting position slowly.
ST3120/ ST5120/STE5120-Hi5 Push Up/Pull Down
Equipment adjustment (ST): Set the height of the seat by lifting the rear part of the seat with both hands so that when the lever arm is in its lowered position, handles are at shoulder level. The seat locks into place automatically. Adjust range limiters if needed by turning the handles on the sides so that the lever arm does not rise or lower more than desired. Fasten the safety belt if needed.
Equipment adjustment electrically (STE): Push the seat adjustment button on the touch screen and adjust the seat by pushing arrow buttons. When training with RFID-tag, the machine will remember your settings from your current training program’s previous visit.
Push up exercise: Exercise by pushing the lever arms up with your hands, keep your wrists straight and lean against the back support. Return to the starting position slowly.
Pull down exercise: Exercise by pulling the lever arms down with your hands, return to the starting position slowly.
ST3140/ ST5140/ STE5140-Hi5 Chest Press
Equipment adjustment (ST): Set the height of the seat by lifting the rear part with both hands so that the lever arm handles are at armpit level. The seat locks into place automatically.
Equipment adjustment electrically (STE): Push the seat adjustment button on the touch screen and adjust the seat by pushing arrow buttons. When training with RFID-tag, the machine will remember your settings from your current training program’s previous visit.
Chest Press Exercise: Exercise by pushing the lever arms forwards. Hold your elbows horizontal and your wrists straight. Return to the starting position slowly.
ST3160/ ST5160/ STE5160-Hi5 Pec Deck
Equipment adjustment (ST): Set the height of the seat by lifting the rear part of the seat with both hands so that the lower edge of the lever arm cushion is at chest level. The seat locks into place automatically.
Equipment adjustment electrically (STE): Push the seat adjustment button on the touch screen and adjust the seat by pushing arrow buttons. When training with RFID-tag, the machine will remember your settings from your current training program’s previous visit.
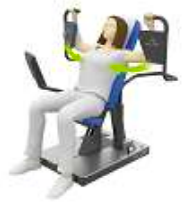
Pec deck exercise: Exercise by pressing the lever arms together with your forearms. Return to the starting position slowly.
ST3175/ ST5175/ STE5175-Hi5 Optimal Rhomb
Equipment adjustment (ST): Set the seat height by lifting it by the rear part of the seat so that your chest rests against the cushion. The seat locks into place automatically. Grab the handles with straight wrists.
Equipment adjustment electrically (STE): Push the seat adjustment button on the touch screen and adjust the seat by pushing arrow buttons. When training with RFID-tag, the machine will remember your settings from your current training program’s previous visit.
Optimal rhomb exercise: Exercise by pulling the lever arms back with your hands, pulling your shoulder blades towards each other. Return to the starting position slowly.
ST3310/ ST5310/ STE5310-Hi5 Abdomen/Back
Equipment adjustment (ST): If needed, adjust the range limiters on the side by turning the handles so that the lever arm will not turn more than desired during the exercise. The distance between the seat and the rollers can be adjusted, allowing for a suitable exercising position for all users. Lift the rear foot of the seat by the black handles and move the seat to the desired position. Lower the seat to lock it in place. WARNING! Make sure that the seat is properly locked after adjustment of the distance before you start exercising. A poorly locked seat may move during exercise and cause danger. Set the height of the seat by lifting it from the back with both hands so that the lever arm cushion is above the chest. The seat locks into place automatically. The devices have adjustable lever arms, enabling individual adjustments for users of various sizes. Pull the red release handle outwards and simultaneously turn the roller in the desired position. Release the handle to lock the arm. WARNING! Make sure that the lever arm is always locked in its intended slot. Otherwise, the lever arm may move during exercise and may cause danger.
Equipment adjustment electrically (STE): Push the seat adjustment button on the touch screen and adjust the seat by pushing arrow buttons. When training with RFID-tag, the machine will remember your settings from your current training program’s previous visit.
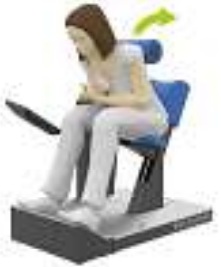
Abdomen exercise: Sit so that the lever arm is up against your chest. Exercise by gently holding on to the roller with your hands and pushing the lever arm down using your abdominal muscles. Return to the starting position slowly.
Abdomen left exercise: Place yourself sideways on the seat facing left. Work with your abdominal by pushing the lever arm downwards and maintain resistance on the return movement.
Abdomen right exercise: Place yourself sideways on the seat facing right. Work with your abdomen by pushing the lever arm downwards and maintain resistance on return movement.
Back exercise: Sit so that the lever arm is up against your shoulder blades and the back support supports your abdomen. Exercise by pushing the lever arm down by using your lower back muscles, with your hands crossed on your chest. Return to the starting position slowly.
ST3320/STE3320-Hi5 Back Extension
Equipment adjustment (ST): Set the height of the seat by lifting it from the back with both hands so that the lever arm cushion is at shoulder blade height and your feet are resting relaxed on the floor. The seat locks into place automatically.
Equipment adjustment electrically (STE): Push the seat adjustment button on the touch screen and adjust the seat by pushing arrow buttons. When training with RFID-tag, the machine will remember your settings from your current training program’s previous visit.
Back extension exercise: Sit so that the lever arm is up against your shoulder blades. Exercise by pushing the lever arm down by using your lower back muscles, with your hands crossed on your chest. Return to the starting position slowly.
ST3330-Hi5 Twist
Twist exercise
To the right: Stand in the machine in such a way that the right support cushion is between the thighs. Put your left arm behind the back of the roller, and the right arm flexed on the left side of the roller in front. Exercise by twisting your body to the right, with your back straight, eyes following the movement. Return to the starting position slowly.
To the left: Stand in the machine in such a way that the lefthand support cushion is between the thighs. Put your right arm behind the back of the roller and the left arm flexed on the right side of the roller in front. Exercise by twisting your body to the left, with your back straight, eyes following the movement. Return to the starting position slowly.
ST3510/ ST5510-Hi5 Body Extension
Equipment adjustment (ST): Lie down on your back in the seat, place your legs on the rollers and fasten the safety belt. The use of the safety belt is recommended when using this machine.
WARNING! The levers can move quickly. Before pressing a button, make sure that no one or nothing is standing in the way of the levers.
Body Extension exercise: Exercise by pressing levers alternately downward with your legs, keeping your buttocks firmly in the seat. Slowly return to the starting position.
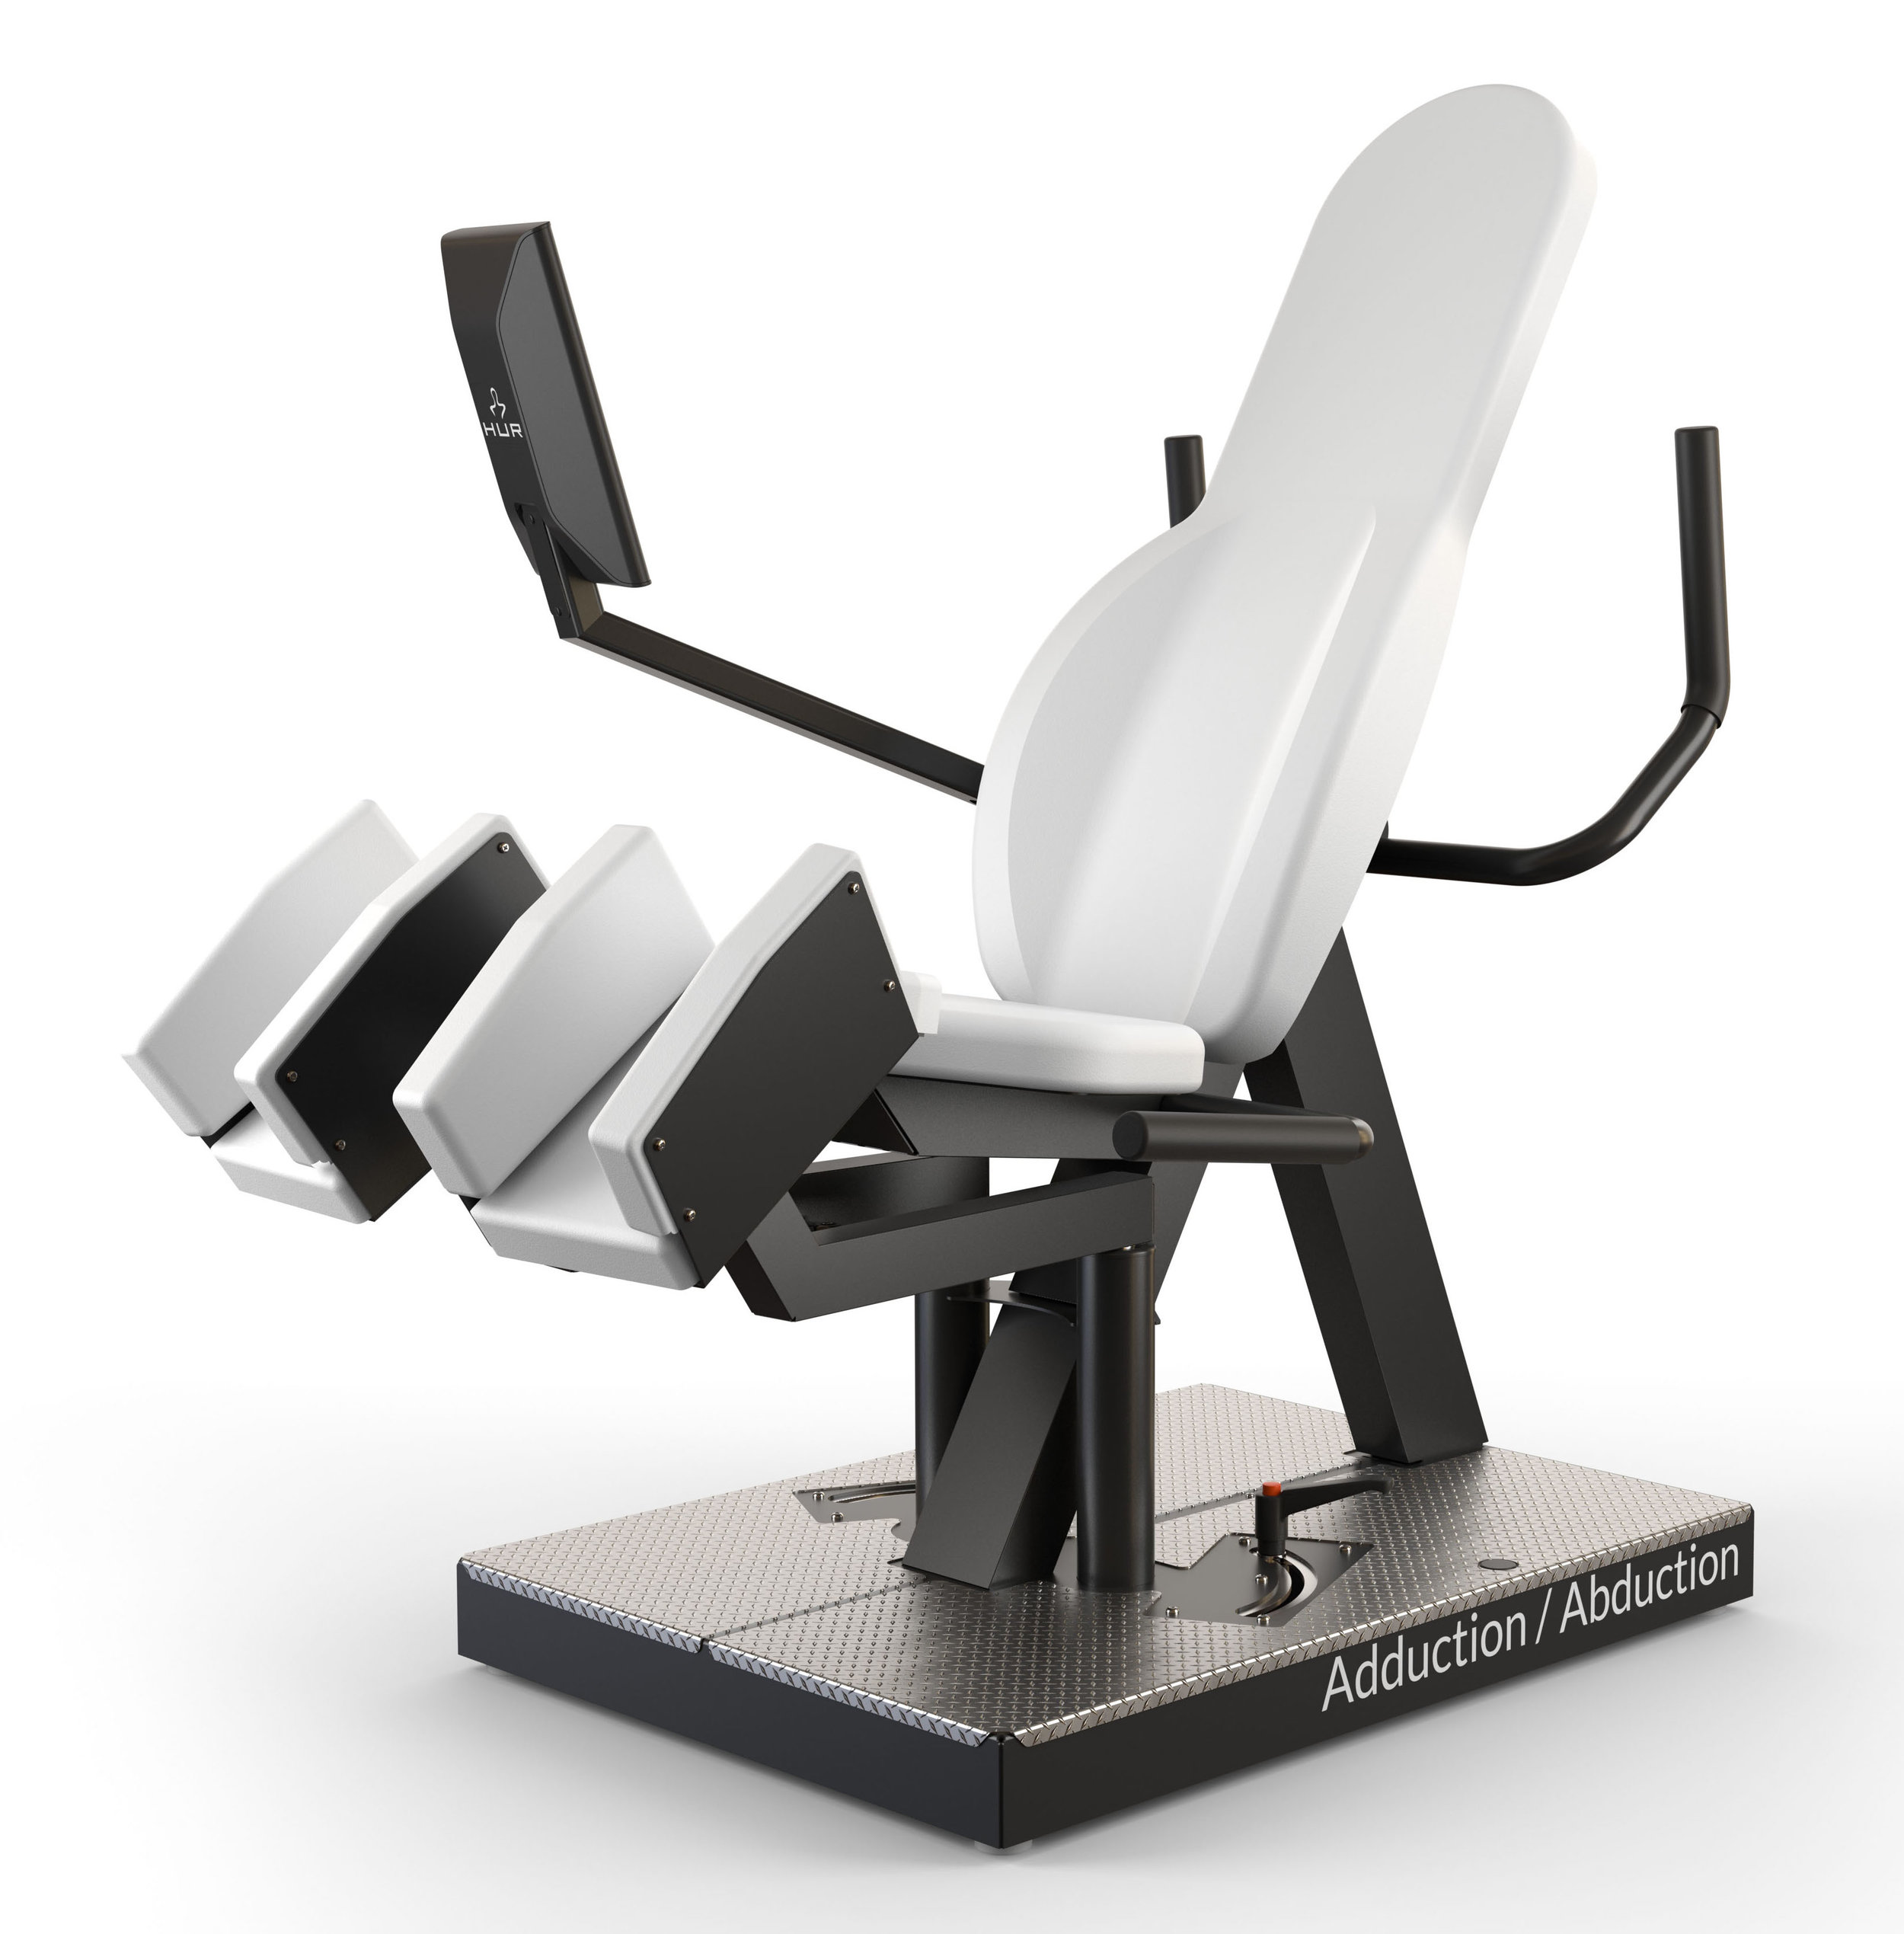
ST3520/ ST5520-Hi5 Adduction/Abduction
Equipment adjustment (ST): If necessary, adjust the range limiters on the foot support by turning the handles so that the levers do not open wider than desired during exercise. Sit down and place your feet on the foot supports.
Adduction exercise: Exercise by pressing the levers together with your legs. Keep your back firmly against the seat. Return to starting position slowly.
Abduction exercise: Exercise by pressing the levers apart with your legs. Keep your back firmly against the seat. Return to starting position slowly.
ST3530/ ST5530/ STE5530-Hi5 Leg Extension/Curl
Equipment adjustment (ST): If necessary, adjust the range limiters by turning the handles on the side so that the knee joint cannot be bent or extended more than desired during exercise. Sit down in the seat so that the knees are resting on the upper cushion and adjust the back support by lifting the handle on the back and moving the back support to desired height. Adjust the lower support cushions by pulling the handle so that the roller is ca. 10 cm above your heel. The machine has padded leg straps to secure thighs during exercising. Fasten the strap by pressing the strap buckles together until you hear a clicking sound. Tighten the strap by pulling at the free end of the belt. Open the strap by pressing the quick-release on both sides. WARNING! Be careful not to leave your skin between the quick-release mechanism. To avoid injury, press the quick-release at the ends only, and be careful when fastening the strap. The machine has adjustable levers in order to enable a suitable exercise stance for users regardless of size. Pull the red release handle outward, simultaneously turning the roller in desired position. Release the handle to lock the lever. WARNING! Make sure that after adjustment, the release handle arm fits properly in the intended slot. Otherwise, the lever can move during exercise and cause danger.
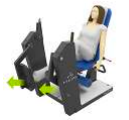
Equipment adjustment electrically (STE): Push the adjustment button on the touch screen and adjust the back rest and lower rollers by pushing arrow buttons. When training with RFID-tag, the machine will remember your settings from your current training program’s previous visit.
Leg Extension exercise: Place feet under lower rollers and fasten safety belt. Exercise by pressing levers alternately upwards with your legs, return to the starting position slowly.
Leg Curl exercise: Place feet on top of lower rollers and fasten thigh straps and safety belt. Exercise by pressing levers alternately downward with your legs, return to the starting position slowly.
ST3540/ ST5540/ STE5540-Hi5 Leg Press
Equipment adjustment (ST): Adjust the back support from the handle at the back so that your legs are an angle of 90 degrees in the starting position. Adjust the starting point of the movement by moving the switch to desired option (’LOCK’ or ’UNLOCK’). The machine has leg straps, with which the feet can be attached to the foot supports. The machine has a locking device to determine the desired movement starting point. Loosen (counter-clockwise) the star screw at the side and move the screw horizontally from ‘Lock’ to ‘Unlock’. Move the lever to desired starting point and tighten the star screw to ‘Lock’ position. Repeat on the other lever. If you want to utilise the whole range of motion of the machine, tighten the screw to ‘Unlock’ position. NOTE! If needed, ask someone for assistance, as holding the lever while tightening the screw can be difficult to manage alone.
Equipment adjustment electrically (STE): Push the adjustment button on the touch screen and adjust the back rest by pushing arrow buttons. When training with RFID-tag, the machine will remember your settings from your current training program’s previous visit.
Leg Press exercise: Exercise by pushing levers alternately forward with your legs, keeping your lower back firmly in the seat. Return to the starting position slowly.
STE5545-Hi5 Leg Press Incline
Equipment adjustment: Adjust the starting point of the movement by moving the switch to desired option (’LOCK’ or ’UNLOCK’). Adjust the foot support to suitable angle by pulling the switch behind the support and turning the support from its lower side. The machine has electrically adjustable back support and shoulder rollers, making it easier for the user to adjust the exercising position while already seated. Adjust back support and shoulder rollers from display or rocker switches by the gauge. Press the upper rocker switch to the left (A) to raise the back support closer to vertical position and to the right (B) to increase the inclination of the back support. The back support locks into place when you stop pressing the switch. Changing the inclination of the back support makes the exercise target different muscles. Press the lower rocker switch to the left (C) to raise the shoulder rollers and to the right (D) to lower them. The shoulder rollers lock into place when you stop pressing the switch. Adjust the shoulder rollers so that they support the shoulders. The machine has a locking device to determine the desired movement starting point. Loosen (counterclockwise) the star screw at the side and move the screw horizontally from ‘Lock’ to ‘Unlock’. Move the lever to desired starting point and tighten the star screw to ‘Lock’ position. Repeat on the other lever. If you want to utilise the whole range of motion of the machine, tighten the screw to ‘Unlock’ position. NOTE! If needed, ask someone for assistance, as holding the lever while tightening the screw can be difficult to manage alone. The machine has an adjustable foot support, enabling the use of various joint angles when exercising. Pull the red release handle outwards and simultaneously turn the foot support in the desired position. Release the handle to lock the foot support. WARNING! Make sure that after adjustment, the release handle arm fits properly in the intended slot. Otherwise, the foot support can move during exercise and cause danger.
Equipment adjustment (with RFID): Push the adjustment button on the touch screen to adjust the back rest and shoulder rollers by pushing arrow buttons. When training with RFID-tag, the machine will remember your settings from your current training program’s previous visit.
Leg Press Incline exercise: (Hamstrings, quadriceps and gluteal muscles): Exercise by pushing the lever forward with your legs. Return to the starting position slowly.


